Sennheiser Rack-mount Receivers EM 2050 User Manual
Browse online or download User Manual for Receivers and Amplifiers Sennheiser Rack-mount Receivers EM 2050. Sennheiser Rack-mount Receivers EM 2050 User Manual
- Page / 44
- Table of contents
- BOOKMARKS
- Instruction manual 1
- Contents 2
- Important safety instructions 3
- Overloading 4
- Replacement parts 4
- Safety check 4
- Intended use 4
- Areas of application 5
- The frequency bank system 5
- Delivery includes 6
- Product overview 7
- Overview of the displays 8
- Connecting the antennas 10
- RF IN RF INRF OUT 11
- ANT II ANT I 11
- Daisy-chaining receivers 13
- Connecting the mains cable 14
- Using the receiver 15
- B.Ch: 20.64 16
- 20.64 17
- Soundcheck 17
- B.CH: 20.64 17
- Using the operating menu 18
- “Sync Settings” submenu 19
- B.Ch: 1. 1 20
- Easy Setup 20
- Frequency Preset 20
- Call up “Frequency 21
- Adjustment tips and functions 22
- The main menu “Menu” 23
- „Stored“ 24
- Entering a name 25
- Call up “Tune” 27
- Select the MHz value 27
- Select the kHz value; 27
- B.Ch: 20.24 28
- Calling up “Warnings” 29
- The “Sync Settings” submenu 30
- 531.375 MHz 32
- Cleaning the receiver 34
- Recommendations and tips 35
- If a problem occurs 36
- Accessories 38
- Specifications 39
- In compliance with 40
- Approved by 40
- Connector assignment 40
- Manufacturer Declarations 41
Summary of Contents
EM 2050EM 2000Instruction manual
Putting the receiver into operation9Putting the receiver into operationSetting up the receiver on a flat surface왘 Clean the base of the receiver where
Putting the receiver into operation10You have the following options:• For professional use, we recommend connecting remote antennas and, if necessary,
Putting the receiver into operation11Mounting the antennas to the front of the rackTo mount the antenna connections to the front of the rack when rack
Putting the receiver into operation12왘 Connect the rod antennas to the BNC sockets 씏.Daisy-chaining receiversThe receivers feature an integrated ante
Putting the receiver into operation13Connecting the mains cable왘 Pass the mains cable through the cable grip 쐅.왘 Connect the mains cable to the mains
Using the receiver14Using the receiverTo establish a transmission link, proceed as follows:1. Switch the receiver on (see next section).2. Switch the
Using the receiver15Synchronizing a transmitter with the receiverYou can synchronize a suitable transmitter of the 2000 series with the receiver. By d
Using the receiver16Muting the audio signalTo mute the audio signal:To unmute the audio signal:If “RX Mute On?” or “RX Mute Off?” appears on the displ
Using the operating menu17Using the operating menuA special feature of the Sennheiser 2000 series is the consistent, intuitive menu structure oftransm
Using the operating menu18Display Function of the menu item PageMain menu “Menu”Squelch Adjusts the squelch threshold 22Easy Setup Scans for unused fr
Contents1ContentsImportant safety instructions ...
Using the operating menu19Working with the operating menuBy way of example of the “Frequency Preset” menu, this section describes how to use theoperat
Using the operating menu20Changing and storing settingsCanceling an entryTo subsequently return to the last edited menu item:Exiting a menu itemTo dir
Adjustment tips and functions21Adjustment tips and functionsThe operating menu allows you to make settings for your receiver and your transmitters.The
Adjustment tips and functions22During the soundcheck, the receiver records the RF level and the AF level. The recording resultis displayed on the “Sou
Adjustment tips and functions23The squelch should only be switched off for servicing purposes. With the squelch thresholdset to “5 dB”, you switch the
Adjustment tips and functions24Selecting the frequency bank and the channel manuallyOverview of the frequency banks and channels:Entering a nameVia th
Adjustment tips and functions25Adjusting the audio output levelAdjustment range: –25 dB to +24 dB, adjustable in 1-dB steps.Via the “AF Out” menu item
Adjustment tips and functions26The extended menu “Advanced Menu“Setting the receiving frequencies and the frequency banks “U1” to “U6” Via the “Tune”
Adjustment tips and functions27왘 Set the desired channel.왘 Set the desired frequency.Changing the settings of the guitar tunerThe following settings a
Adjustment tips and functions28Calling up “Warnings”To call up “Warnings” (see page 30):왘 From the extended menu “Advanced Menu”, select “Warnings”.Ad
Important safety instructions2Important safety instructions1. Read these instructions.2. Keep these instructions. Always include these instructions wh
Adjustment tips and functions29Displaying the software revisionYou can display the current software revision of the receiver.왘 For information on soft
Adjustment tips and functions30Activating/deactivating warning messages – “Warnings”Via the “Warnings” menu item, you can activate or deactivate diffe
Synchronizing transmitters with receivers31Synchronizing transmitters with receiversWhen synchronizing a transmitter with a receiver, please observe t
Synchronizing transmitters with receivers32왘 Launch the “Wireless Systems Manager” (WSM) software.왘 To scan for unused receiving frequencies and to co
Cleaning the receiver33Cleaning the receiver왘 Before cleaning, disconnect the receiver from the mains.왘 Use a cloth to clean the receiver from time to
Recommendations and tips34Recommendations and tips... for optimum reception• Transmission range depends to a large extent on location and can vary fro
If a problem occurs ...35If a problem occurs ...Problem Possible cause Possible solutionReceiver cannot be oper-ated, “Locked” appears on the display
If a problem occurs ...36If a problem occurs that is not listed in the above table or if the problem cannot be solved with the proposed solutions,plea
Accessories37AccessoriesCat. No.Accessories004368GA 3030 AM antenna front mount kitAntennas502195A 3700 antenna, active broadband antenna, omni-direct
Specifications38SpecificationsRF characteristicsAF characteristicsOverall deviceModulation wideband FMReceiving frequency ranges 516–558, 558–626, 626
Important safety instructions3This symbol is intended to alert the user to the risk of electric shock if the receiver is opened.There are no user serv
Specifications39In compliance withApproved byConnector assignmentEuropeEMC EN 301489-1/-9Radio EN 300422-1/-2Safety EN 60065USA 47 CFR 15 subpart BCa
Manufacturer Declarations40Manufacturer DeclarationsWarrantySennheiser electronic GmbH & Co. KG gives a warranty of 24 months on this product. For
Index41IndexActivating/deactivatinglock mode (Auto Lock) 25pilot tone evaluation (Pilot Tone) 27warnings (Warnings) 30Adjustingaudio output level (AF
Index42Mute (muting the audio signal) 16Muting (audio signal) 16NName (entering a name) 24Network (connecting receivers in a network) 12, 31Network co
Sennheiser electronic GmbH & Co. KGAm Labor 1, 30900 Wedemark, Germanywww.sennheiser.comPrinted in GermanyPubl. 01/09529666/A01
The EM 2000 and EM 2050 rack-mount receivers4The EM 2000 and EM 2050 rack-mount receiversThis receiver is part of the 2000 series. With this series, S
Delivery includes5Each frequency range (Aw–Dw, Gw) offers 26 frequency banks with up to 64 channels each:Each of the channels in the frequency banks “
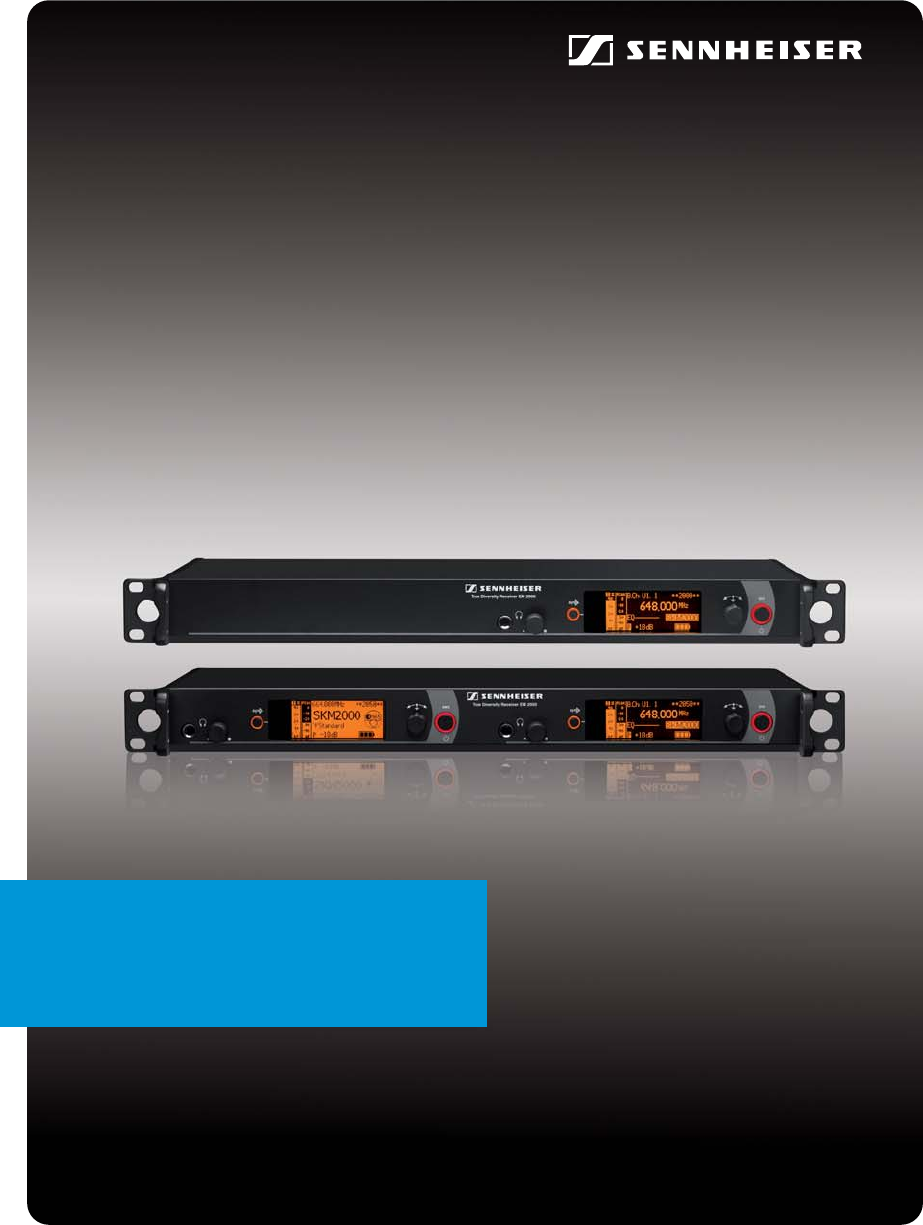
Product overview6Product overviewOverview of the EM 2000/EM 2050 receiverThe EM 2050 twin receiver has the same operating elements as the EM 2000 rece
Product overview7Overview of the displaysAfter switch-on, the receiver displays the “Receiver Parameters” standard display. For furtherillustrations a
Product overview8햺 Muting function “MUTE”(see page 16)Receiver/transmitterAudio signal is muted (see also page 35)햻 Transmitter type Transmitter Produ
Related products and manuals for Receivers and Amplifiers Sennheiser Rack-mount Receivers EM 2050
 (1 pages)
 (134 pages)
 (6 pages)
© 2020, manymanuals.com. All rights reserved. | 1.191 s |
 Manymanuals.com
 Manymanuals.de
 Manymanuals.fr
 Manymanuals.it
 Manymanuals.pl
 Manymanuals.cz
 Manymanuals.es
 Manymanuals-pt.com
Comments to this Manuals