Sennheiser Rack-mount Receivers EM 2050 Instruction Manual
Browse online or download Instruction Manual for Supplementary music equipment Sennheiser Rack-mount Receivers EM 2050. Sennheiser Rack-mount Receivers EM 2050 Instruction manual User Manual
- Page / 38
- Table of contents
- BOOKMARKS
- Instruction manual 1
- Contents 3
- Important safety instructions 4
- Overloading 5
- Replacement parts 5
- Safety check 5
- Intended use 5
- Areas of application 6
- The frequency bank system 6
- Delivery includes 7
- Product overview 8
- Overview of the displays 9
- Connecting the antennas 11
- RF IN RF INRF OUT 13
- ANT II ANT I 13
- Connecting the mains cable 14
- Using the receiver 15
- 왘 Turn the jog dial 16
- 왘 Press the jog dial 16
- 왘 Press the STANDBY button 17
- Using the operating menu 18
- Main menu “Menu” 19
- “Easy Setup” 19
- Extended menu “Advanced Menu” 19
- Submenu “Sync Settings” 19
- “Stored” 21
- The main menu “Menu” 22
- Entering a name 23
- The “Sync-Settings” submenu 28
- The “Warnings” submenu 29
- AF MaxDiversity 30
- B.Ch: 20.64 31
- Cleaning the receiver 33
- If a problem occurs 33
- Accessories 34
- Specifications 35
- Manufacturer Declarations 36
Summary of Contents
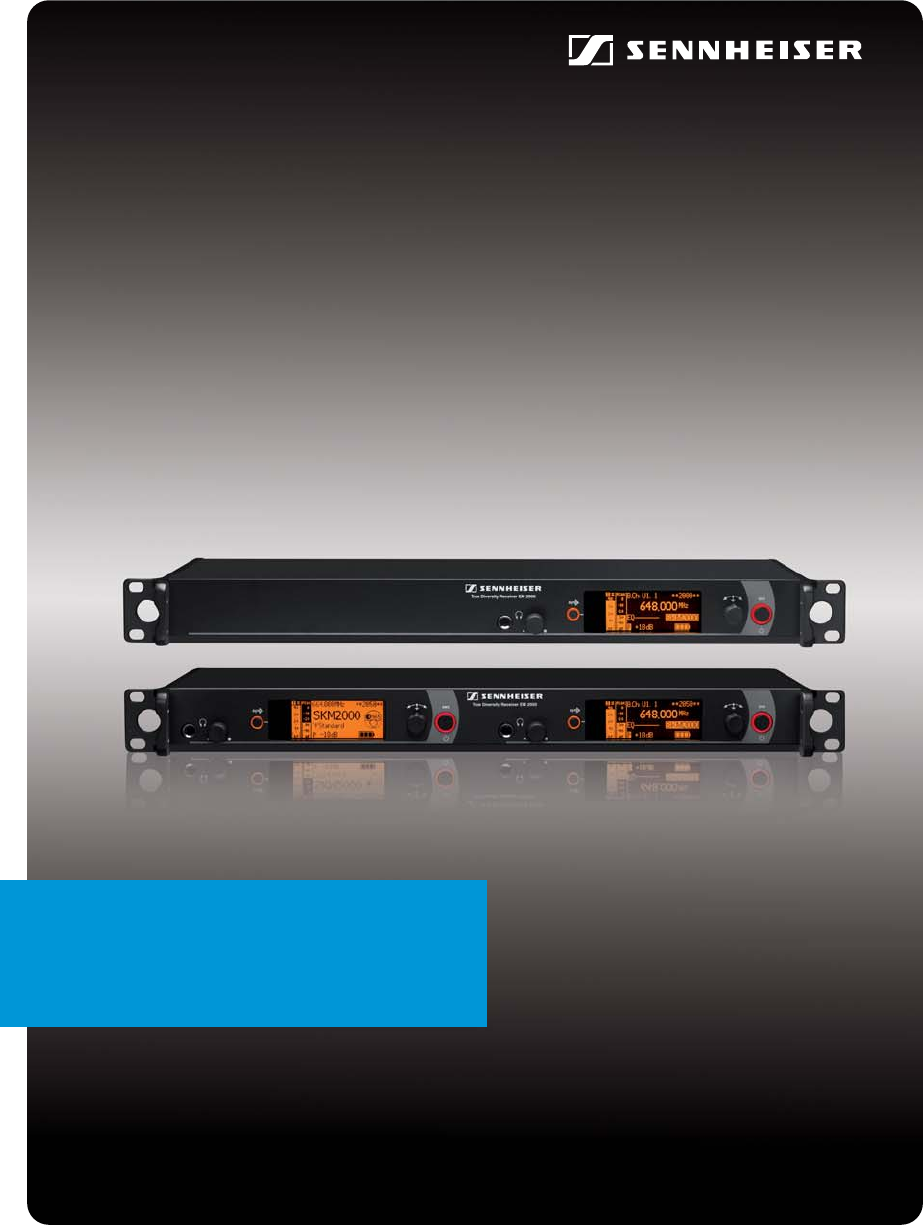
EM 2050EM 2000Instruction manual
Product overview8햻 Transmitter type Transmitter Product name of the linked 2000 series transmitterThe product name is displayed only if the linked tra
Putting the receiver into operation9Putting the receiver into operationPreparing the receiver for useSetting up the receiver on a flat surfaceFitting
Putting the receiver into operation10Connecting the rod antennas to the rear of the receiver왘Connect the rod antennas 씏 (see diagram). 왘 Align the ant
Putting the receiver into operation11왘 Connect the rod antennas 씏 to the two BNC sockets of the BNC cables .왘 Align the antennas upwards in a V-shape
Putting the receiver into operation12Connecting an amplifier/mixing consoleThe receiver’s XLR-3M socket 쐉 and the ¼” (6.3 mm) jack socket 쐈 are connec
Using the receiver13Using the receiverTo establish a transmission link, proceed as follows:1. Switch the receiver on (see below).2. Switch the transmi
Using the receiver14왘 Set the headphone volume control 쐋 to the minimum position.왘 Connect headphones with a ¼” (6.3 mm) stereo jack plug to the headp
Using the receiver15The lock mode icon 햾 flashes prior to the lock mode being activated again.Muting the audio signalTo mute the audio signal:To unmut
Using the operating menu16Using the operating menuThe buttonsOverview of the operating menuWhen one of the standard displays is shown on the display p
Using the operating menu17Display Function of the menu item PageMain menu “Menu”Squelch Adjusts the squelch threshold 20Easy Setup Scans for unused fr
Using the operating menu18Working with the operating menuBy way of example of the “Frequency Preset” menu, this section describes how to use theoperat
Using the operating menu19Changing and storing settingsCanceling an entryTo return to the last edited menu item:Exiting a menu itemTo return to the ne
Adjusting settings via the operating menu20Adjusting settings via the operating menuThe main menu “Menu”Adjusting the squelch thresholdThe squelch eli
Adjusting settings via the operating menu21Scanning for, releasing and selecting frequency presetsSelecting the frequency bank and the channel manuall
Adjusting settings via the operating menu22To enter a name, proceed as follows:Adjusting the audio output levelAdjustment range: –24 dB to +24 dB, adj
Adjusting settings via the operating menu23Getting into the extended menu “Advanced Menu“To get into the extended menu “Advanced Menu” (see page 23):왘
Adjusting settings via the operating menu24왘 Set the desired frequency bank.왘 Set the desired channel.왘 Set the desired frequency.Changing the setting
Adjusting settings via the operating menu25Getting into the “Warnings” submenuTo get into the “Warnings” submenu (see page 27):왘 From the extended men
Adjusting settings via the operating menu26Displaying the software revisionYou can display the current software revision of the receiver.왘 For informa
Adjusting settings via the operating menu27The “Warnings” submenuActivating/deactivating warning messages Standard displays with additional functionsT
Contents1ContentsImportant safety instructions ...
Adjusting settings via the operating menu28Doing a soundcheckBy doing a soundcheck, you can check the reception area for field strength gaps (“dropout
Synchronizing a transmitter with the receiver29Synchronizing a transmitter with the receiverWhen synchronizing a transmitter with a receiver, please o
Synchronizing a transmitter with the receiver30Operation withoutnetwork왘 Switch off all transmitters of your system that are to be automatically confi
Cleaning the receiver31Cleaning the receiver왘 Before cleaning, disconnect the device from the mains. 왘 Use a slightly damp cloth to clean the receiver
Accessories32If a problem occurs that is not listed in the above table or if the problem cannot be solved with the proposed solutions,please contact y
Accessories33SpecificationsRF characteristicsAF characteristicsOverall deviceModulation wideband FMReceiving frequency ranges 516–558, 558–626, 626–69
Manufacturer Declarations34In compliance withApproved byConnector assignmentManufacturer DeclarationsWarrantySennheiser electronic GmbH & Co. KG g
Manufacturer Declarations35Statements regarding FCC and Industry Canada This device complies with Part 15 of the FCC Rules and with RSS-210 of Industr
Sennheiser electronic GmbH & Co. KGAm Labor 1, 30900 Wedemark, Germanywww.sennheiser.comPrinted in GermanyPubl. 01/09529666/A01
Important safety instructions2Important safety instructions1. Read these instructions.2. Keep these instructions. Always include these instructions wh
Important safety instructions3This symbol is intended to alert the user to the risk of electric shock if the receiver is opened.There are no user serv
The EM 2000 and EM 2050 rack-mount receivers4The EM 2000 and EM 2050 rack-mount receiversThis rack-mount receiver is part of the 2000 series. With thi
Delivery includes5Each frequency range (Aw–Ew, Gw) offers 26 frequency banks with up to 64 channels each:Each of the channels in the frequency banks “
Product overview6Product overviewOverview of the EM 2000/EM 2050 receiverThe EM 2050 twin receiver has the same operating elements as the EM 2000 rece
Product overview7Overview of the displaysAfter switch-on, the receiver displays the standard display “Receiver Parameters”. For furtherillustrations a
Related products and manuals for Supplementary music equipment Sennheiser Rack-mount Receivers EM 2050
 (25 pages)
 (14 pages)
© 2020, manymanuals.com. All rights reserved. | 0.624 s |
 Manymanuals.com
 Manymanuals.de
 Manymanuals.fr
 Manymanuals.it
 Manymanuals.pl
 Manymanuals.cz
 Manymanuals.es
 Manymanuals-pt.com
Comments to this Manuals